This guide outlines how to configure a dual-sensor setup to simultaneously measure pelvic floor muscle activity and abdominal compensation (substituting abdominal pressure for true pelvic floor contraction).
1. Required Hardware Checklist
NeXus-10 System (operated via Bluetooth for safety and electrical isolation).
EXG Snap-On Sensor: Used for abdominal surface EMG tracking.
ARBO Disposable Electrodes: Self-adhesive, pre-gelled patches for the snap-on cable.
EXG TP (Touch-Proof) Sensor / Ground: Designed with $1.5\text{ mm}$ or $2\text{ mm}$ DIN connections to interface directly with the new type of vaginal/rectal probes.
Vaginal/Rectal Sensor Probe: The endocavitary electrode with matching touch-proof pins.
Ground Cable
2. Hardware Connection & Electrode Placement
| Sensor Component | Connection on NeXus-10 | Electrode Placement / Target |
| EXG Snap-On Sensor | Input A (or B) | Abdominal Muscles: Snap the ARBO electrodes onto the Red and Black leads. Place them symmetrically across the lower abdominal wall (rectus abdominis/obliques) to monitor accessory muscle cheating or bracing. |
| EXG TP Sensor & Probe | Input C (or D) | Pelvic Floor (Internal): Connect the two touch-proof leads from your vaginal probe to the corresponding inputs on the EXG-TP cable. Insert the probe according to its specific manufacturer documentation. |
| Ground Reference | Ground Input | Neutral Bony Area: Ensure a ground electrode is connected to a neutral site (such as the hip bone/ASIS) to filter out common-mode noise across both recording channels. |
3. BioTrace+ Software Selection
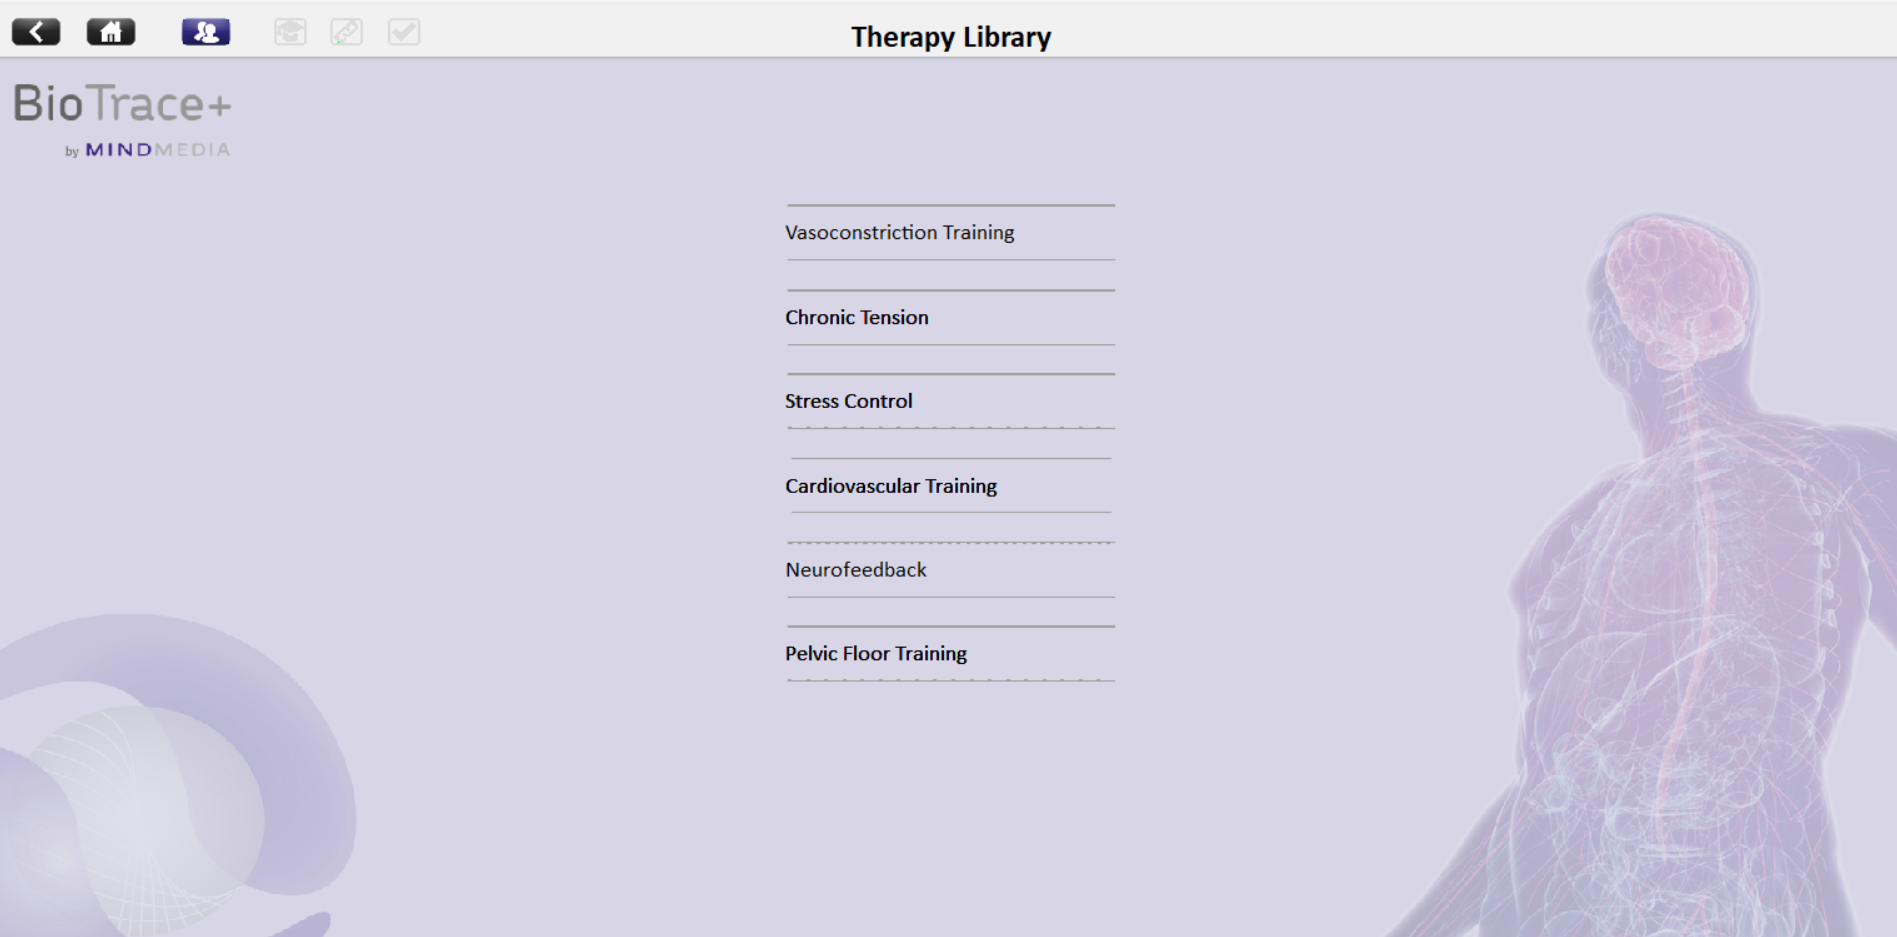
Open BioTrace+ and navigate to the Therapy Library screen.
Select Pelvic Floor Training from the main menu list.
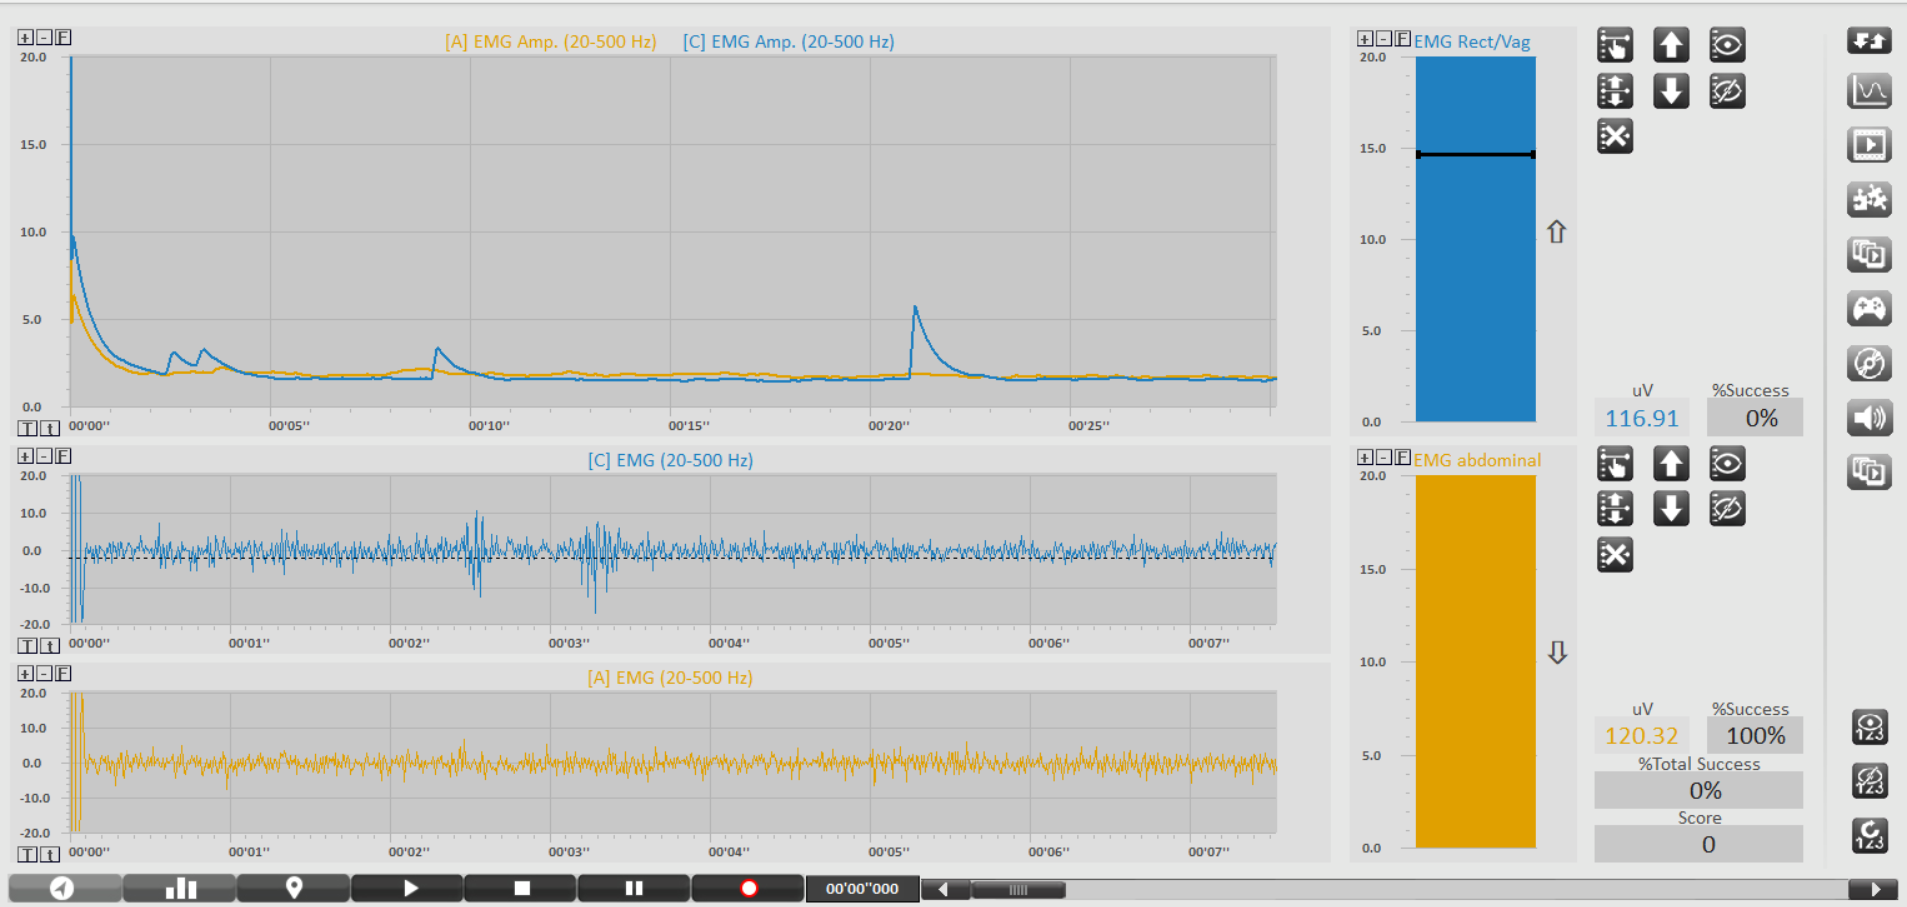
Choose the Pelvic Floor Training , a dual-channel configuration screen (similar to the one shown in your software layout), which displays [C] EMG Rect/Vag alongside [A] EMG Abdominal.
Market-Standard Protocols (Indicative Only)
Important Clinical Disclaimer: The following protocols represent common methodologies utilized by pelvic health professionals in the market (such as Glazer-derived models). They are intended strictly as indicative educational examples. Exact clinical protocols, work/rest cycles, and target thresholds vary broadly based on individual patient presentation, underlying pathology, and specific clinician preference. Always defer to qualified healthcare guidelines.
Professionals in the field typically focus on training two distinct muscle dynamics while tracking abdominal isolation:
A. Phasic Training (Fast-Twitch Fiber Isolation)
Market Objective: To coordinate rapid contraction responses (e.g., bracing against a sudden cough or sneeze) without bracing the abdomen.
Typical Routine: 5 to 10 repetitions of quick "flicks."
Contraction: Maximize pelvic floor contraction instantly ($1\text{ to }2\text{ seconds}$).
Rest: Complete relaxation for $10\text{ seconds}$ to clear metabolic waste.
Observation: The yellow abdominal bar (Input A) should ideally remain flat, while the blue vaginal bar (Input C) spikes.
B. Tonic Training (Slow-Twitch Fiber Endurance)
Market Objective: To build postural support and sustained endurance within the pelvic bowl.
Typical Routine: 5 to 10 repetitions of sustained holds.
Contraction: Hold a steady, sub-maximal contraction for $10\text{ seconds}$.
Rest: Relax completely for $10\text{ to }20\text{ seconds}$ to prevent muscle cramping and ensure baseline recovery.
Observation: Clinicians monitor whether the patient can sustain the blue target line without the yellow abdominal line rising over time as the patient fatigues.
4. Post-Session Review & Metrics
After the session is recorded, clinicians typically review the Session Overview to evaluate:
Baseline Resting Tone: Checking if the pelvic floor returns to its natural rest state ($1.0\mu\text{V} - 3.0\mu\text{V}$) after exertion or remains hypertonic.
Co-Contraction Index: Reviewing the raw microvolt ($\mu\text{V}$) ratio between the abdominal wall and the pelvic floor to gauge isolation success.